1. AWTK 编译与调试 环境搭建指南
1.1. 1 安装Git
1.2. 2 运行Git Bash 并下载代码
git clone https://github.com/zlgopen/awtk.git
git clone https://github.com/zlgopen/awtk-examples.git
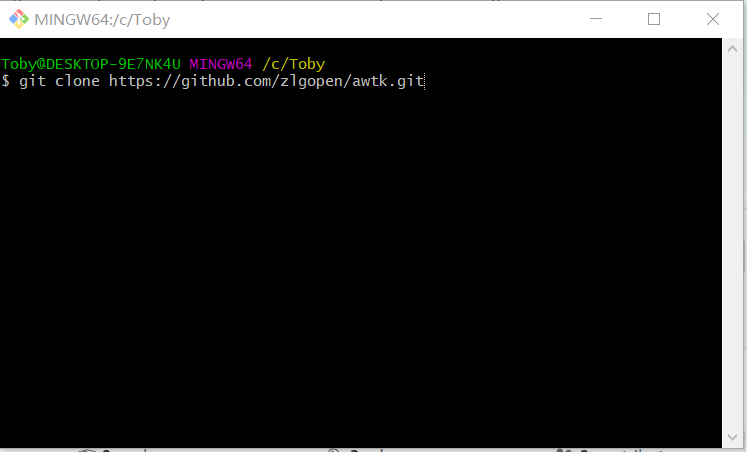 image-20200108213036831
1.3. 3 安装python3
卸载了所有python版本,然后单独装了python3.x 64bit版本。
增加环境变量到PATH:
 image-20200108213242900
注:pip 在 Scripts目录,所以要把它所在目录加到环境变量。
1.4. 4 打开powershell 安装 scons
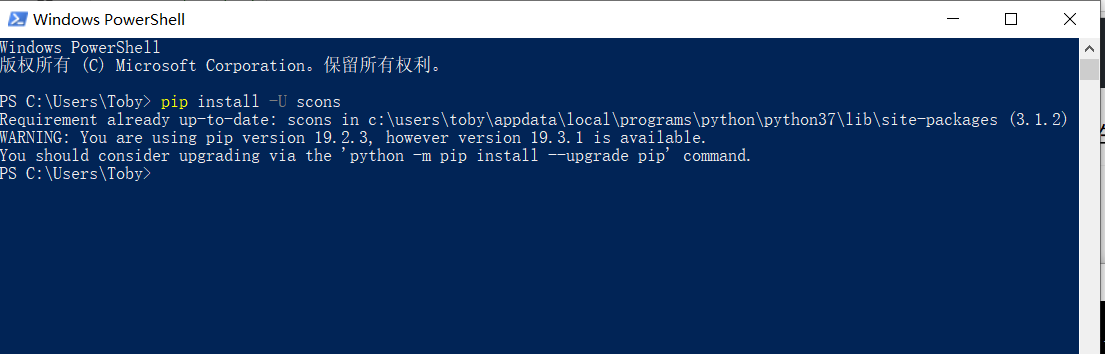 image-20200108213353049
1.5. 5 安装pywin32
 image-20200109103738448
1.6. 6 安装Visual Studio C++(2017+)
 image-20200109104204503
1.7. 7 安装Visual Studio Code
 image-20200109104938240
1.8. 8 编译代码
进行代码目录,编译代码。
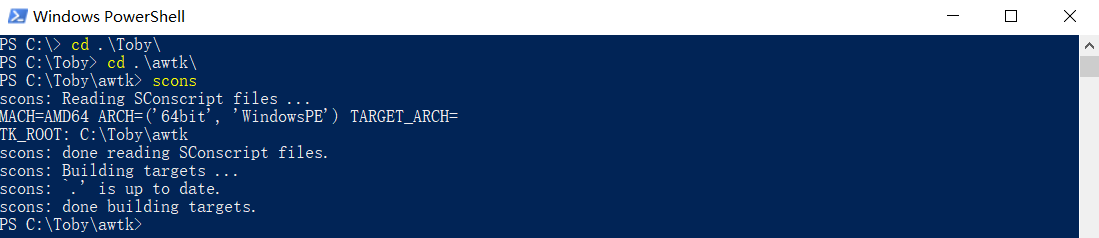 image-20200108213605232
为有加快编译速度,可采用多核编译(建议这样做哦,不然较慢要几分钟吧):
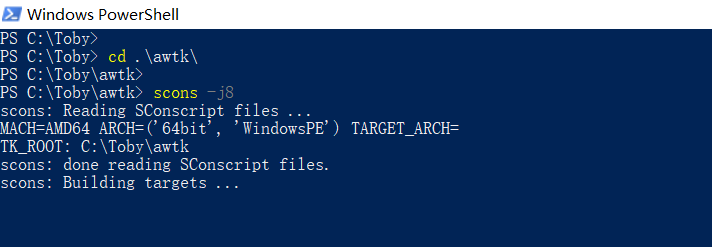 image-20200109104432149
1.9. 9 打开VScode 并添加工程目录
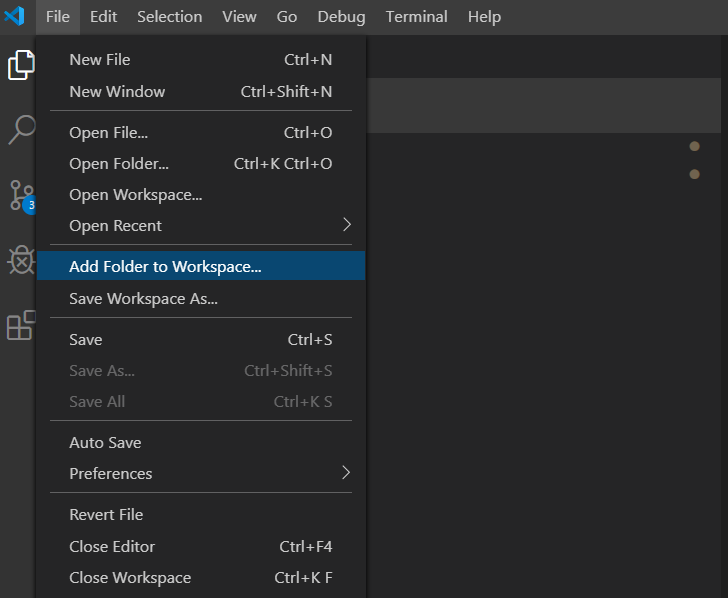 image-20200108213950783
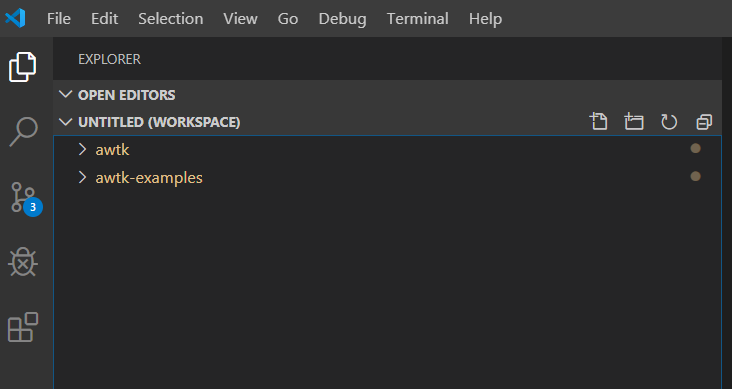 image-20200108214048147
1.10. 也可在VScode编译(第2种方法)
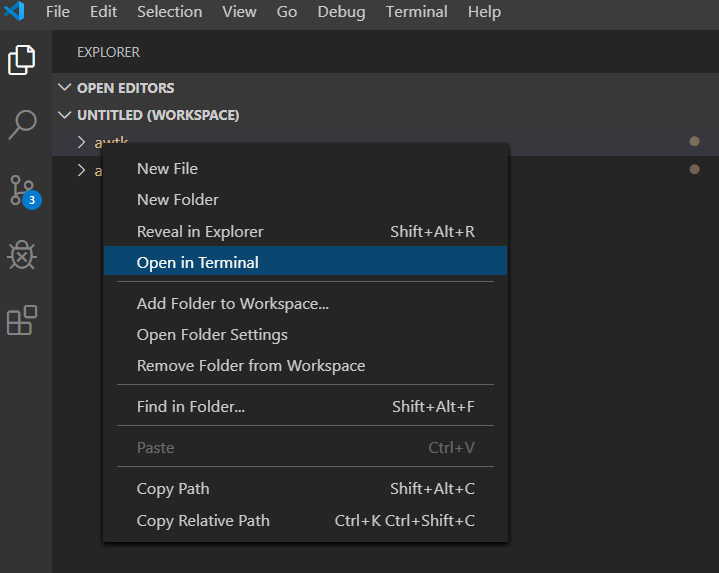 image-20200108214156187
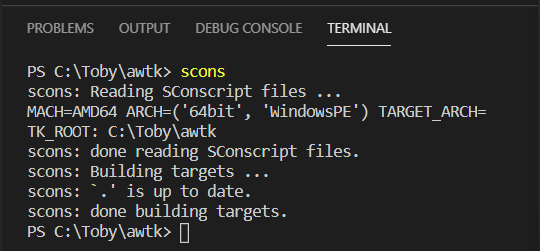 image-20200108214323521
1.11. a 配置调试环境
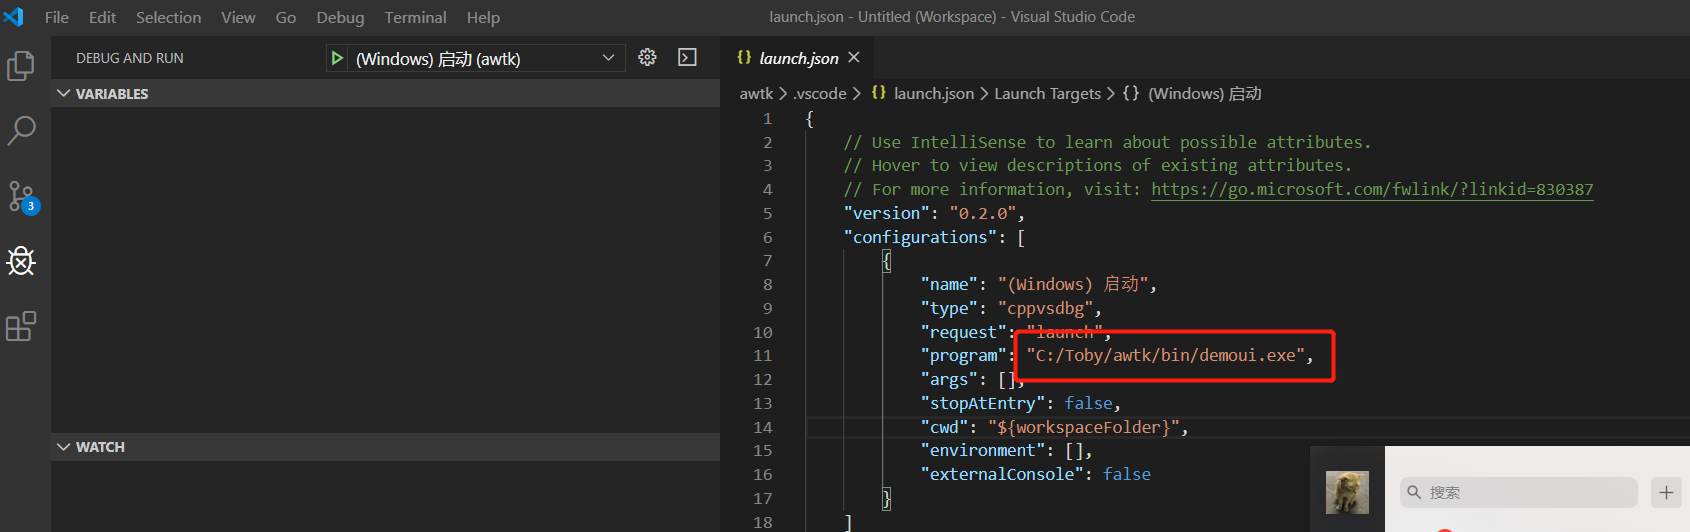 image-20200108214717424
1.12. b 运行调试 跟踪call stack
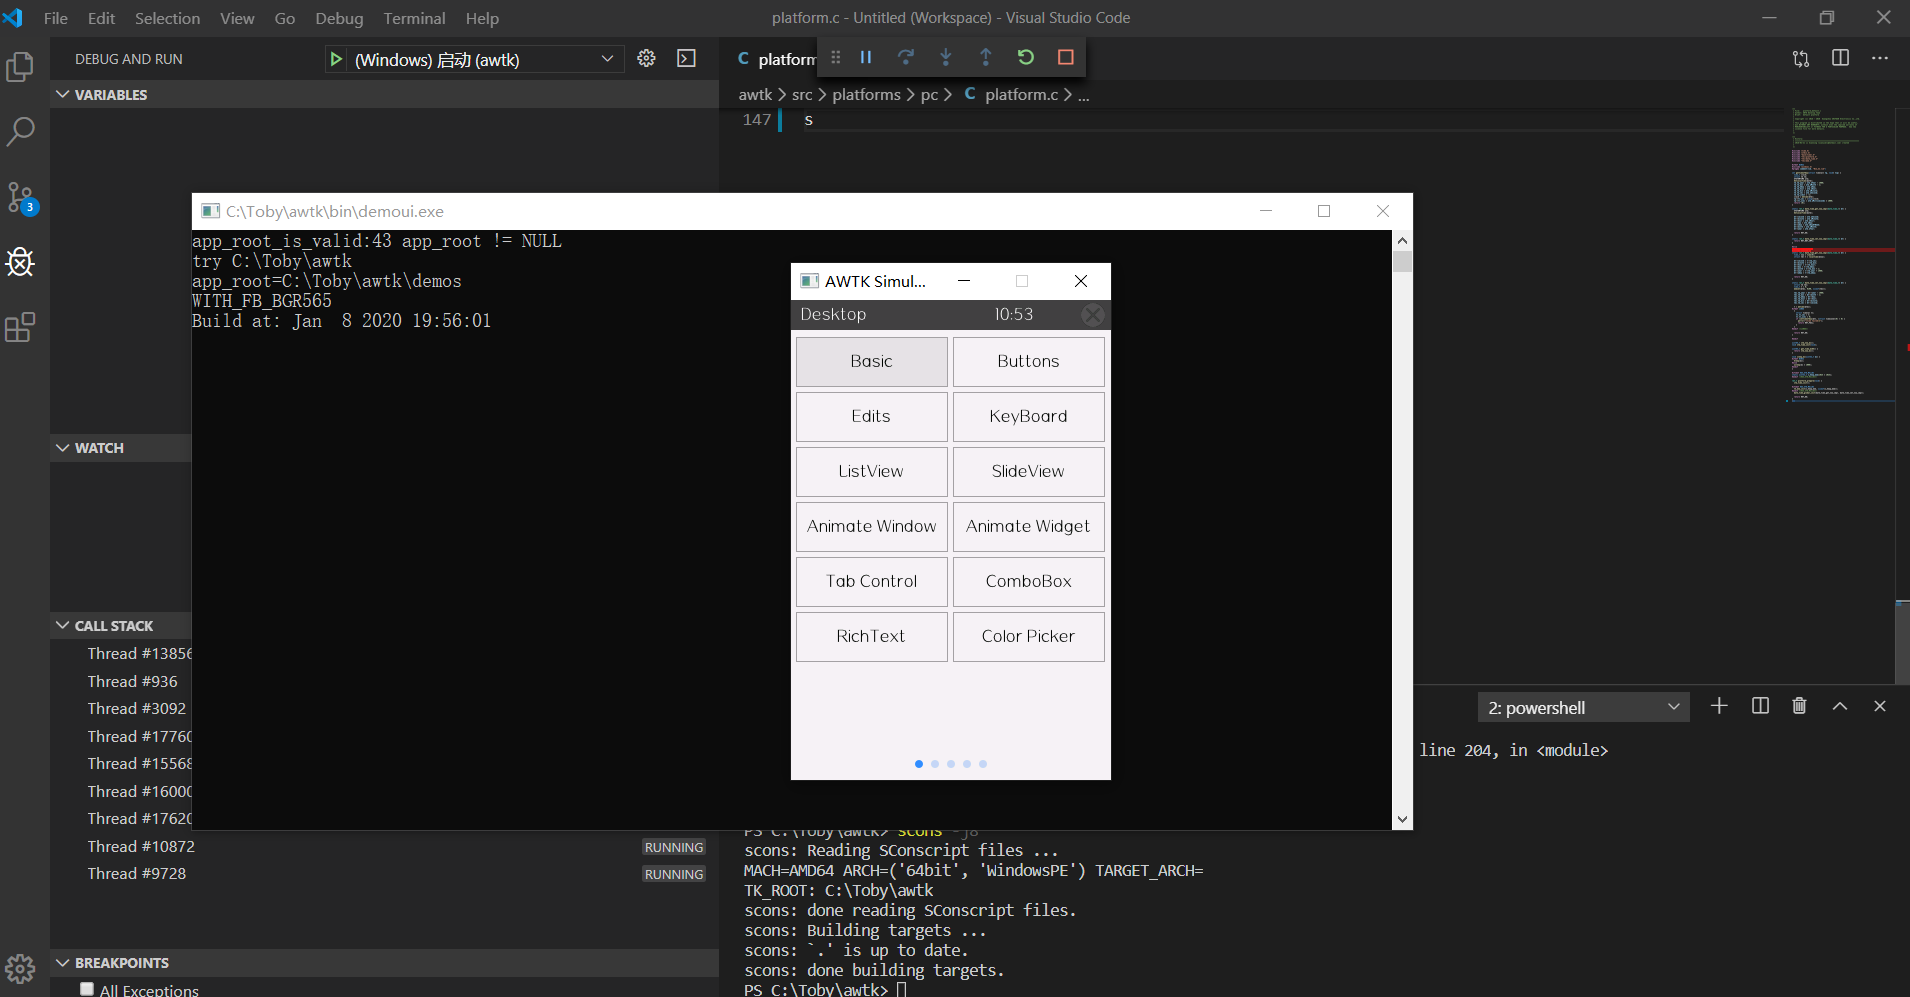 image-20200109105333879
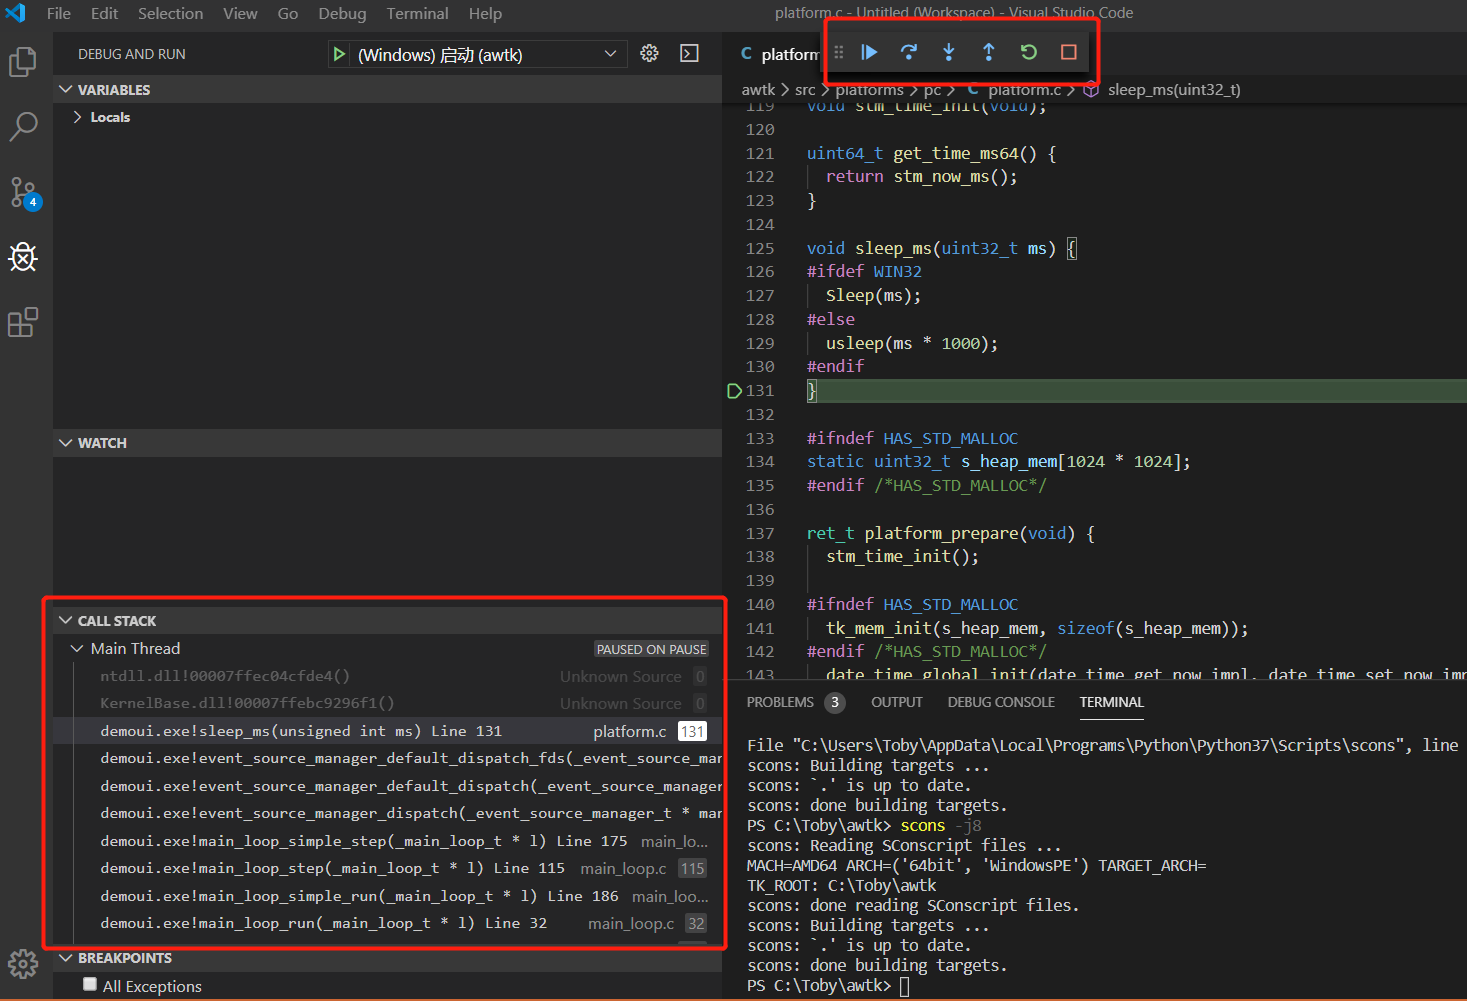 image-20200109105527612
Enjoy AWTK :-)